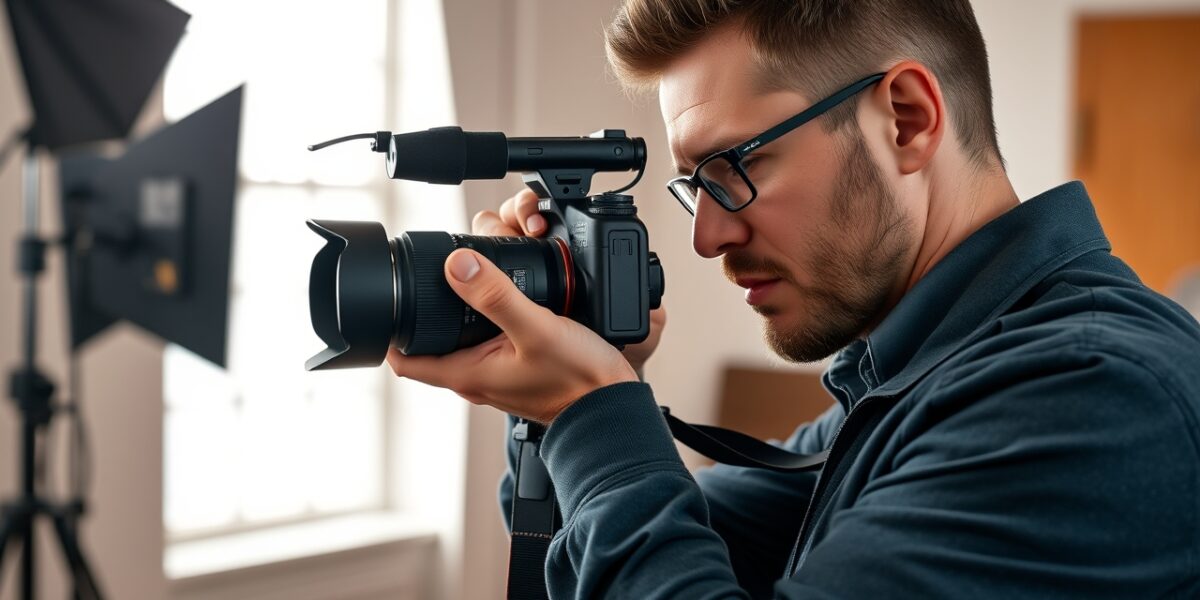
Introduction
Digital photography has transformed the way we capture moments, turning a simple click into a powerful visual story. The technology behind cameras has become more accessible, yet the art of creating compelling images remains a blend of science and creativity. This guide is designed to walk you through every stage of that journey—starting with the fundamentals of camera operation, moving through composition and lighting, and culminating in advanced techniques and post‑processing workflows.
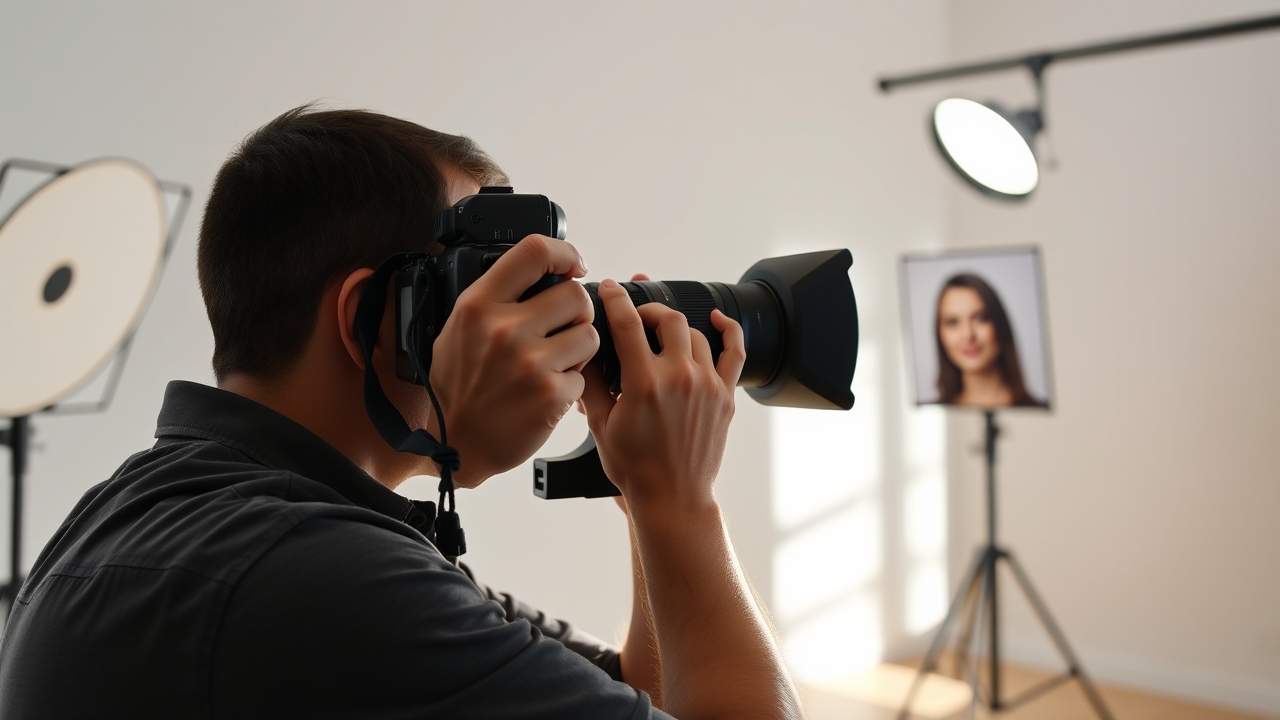
Understanding Your Camera
The first step in mastering digital photography is to become intimately familiar with your gear. Even if you own a high‑end camera, the same principles apply across all models.
- Sensor Size: Full‑frame sensors capture more light and deliver better low‑light performance, but crop sensors offer a more affordable entry point.
- Resolution: Higher megapixels provide more detail, but they also require larger storage and can magnify noise.
- ISO Range: Understand the lowest ISO for clean images and the highest ISO that still meets your noise tolerance.
- Autofocus Modes: Learn the differences between single‑point, zone, and continuous autofocus, and how they affect tracking moving subjects.
- Metering Modes: Matrix, center‑weighted, and spot metering each interpret exposure differently; knowing when to use each can save you from blown highlights or muddy shadows.
Take the time to read your camera’s manual, experiment with the settings, and keep a quick‑reference sheet handy during shoots.



Exposure Basics
Exposure is the foundation of every photograph. It’s controlled by three interrelated settings: aperture, shutter speed, and ISO. Mastering the exposure triangle allows you to adapt quickly to changing light conditions.
Aperture
Aperture controls the amount of light entering the lens and the depth of field. A wide aperture (low f‑number) lets in more light and creates a shallow depth of field, ideal for portraits. A narrow aperture (high f‑number) increases depth of field, keeping more of the scene in focus, which is useful for landscapes.
Shutter Speed
Shutter speed determines how long the sensor is exposed to light. Fast speeds freeze motion, while slow speeds can blur movement to convey motion or create long‑exposure night shots. Remember the 1/ƒ value rule: for a given focal length, use a shutter speed of at least 1 divided by the focal length to avoid camera shake.
ISO
ISO adjusts the sensor’s sensitivity to light. Lower ISO values (e.g., 100–400) produce cleaner images with less noise, while higher ISO values (800 and above) are useful in low‑light situations but introduce grain.
Use exposure calculators, histogram curves, and the camera’s exposure compensation feature to fine‑tune your settings.
Composition
Composition is the arrangement of visual elements within a frame. Good composition can turn a simple snapshot into a striking image.
- The Rule of Thirds: Imagine a 3×3 grid; place key elements along the lines or at the intersections.
- Leading Lines: Use natural lines to guide the viewer’s eye toward the subject.
- Framing: Use foreground elements to frame the main subject, adding depth.
- Negative Space: Balance busy subjects with empty areas to create visual breathing room.
- Perspective: Changing your angle—low, high, or eye level—can dramatically alter the story.
Practice these rules, then experiment by breaking them intentionally to discover new creative possibilities.
Lighting Techniques
Light is the most critical element in photography. Understanding how to manipulate natural and artificial light will elevate your images.
Natural Light
Golden hour—the hour after sunrise and before sunset—offers warm, soft light that flatters most subjects. Midday sun can be harsh; use reflectors or diffusers to soften shadows.
Artificial Light
Studio lights, LEDs, and flash units provide controlled lighting. Learn to set up key, fill, and back lights to sculpt your subject. Remember to adjust color temperature to match the scene.
Combining Light Sources
Mixing natural and artificial light can create dramatic contrasts. Use a fill flash to brighten shadows while maintaining the ambient glow.
Post‑Processing
Editing is where raw images transform into finished artwork. A consistent workflow ensures efficiency and quality.
Importing and Organizing
Use software like Lightroom or Capture One to import, tag, and rate images. Develop presets for quick adjustments across series.
Basic Adjustments
- Exposure and Contrast: Balance brightness and tonal range.
- White Balance: Correct color casts to match the scene.
- Clarity and Vibrance: Enhance mid‑tone contrast and color saturation.
- Sharpening and Noise Reduction: Apply selective sharpening and noise reduction to preserve detail.
Advanced Techniques
Layer masks, adjustment brushes, and frequency separation allow precise control. For portraits, use dodge and burn to sculpt skin tones; for landscapes, use graduated filters to balance sky and foreground.
Exporting
Export at the correct resolution and color space for your intended medium—web, print, or social media. Keep a master copy of the original RAW file.
Advanced Techniques
Once you’re comfortable with basics, explore techniques that push creative boundaries.
Long‑Exposure Photography
Use ND filters to reduce light and extend shutter speeds to capture motion blur in waterfalls, traffic, or night skies.
HDR Imaging
Bracket exposures and merge them to retain detail in extremes of light and dark.
Macro Photography
Use macro lenses or extension tubes to capture fine details of small subjects. Pay attention to depth of field and focus stacking.
Time‑Lapse and Video
Set your camera to capture a sequence of stills over time or record video. Editing software can stitch them into compelling narratives.
Common Mistakes and How to Avoid Them
- Over‑editing: Keep edits natural; excessive saturation or sharpening can ruin an image.
- Ignoring exposure: Under‑exposed images lose detail; over‑exposed ones lose highlights.
- Neglecting composition: A well‑exposed image can still feel flat if poorly composed.
- Not backing up: Always keep multiple copies of RAW files on external drives.
- Using the wrong lens: Match lens focal length to the subject and desired perspective.
Resources for Continued Learning
Photography is a lifelong learning journey. Here are some resources to keep you growing:
- Online Courses: Platforms like Masterclass, Udemy, and Coursera offer in‑depth courses on specific aspects of photography.
- Books: “Understanding Exposure” by Bryan Peterson and “The Photographer’s Eye” by Michael Freeman are classics.
- Communities: Join forums such as DPReview, Reddit’s r/photography, and local photography clubs.
- Practice Projects: Set monthly challenges—portraits, street photography, landscape—to push your skills.
Conclusion
Mastering digital photography is a blend of technical knowledge, creative vision, and continuous practice. By understanding your camera’s capabilities, mastering exposure, crafting compelling compositions, manipulating light, and refining images in post‑processing, you lay a solid foundation for any photographic endeavor. From there, advanced techniques and ongoing learning will keep your work evolving. Embrace curiosity, experiment boldly, and let each click tell a story that resonates with your audience. Happy shooting!
For further reading, see related references on Wikipedia.
Leave a Reply